Automating Mouse Clicking in Games can be really helpful and handy when you have to do lots of Clicking. Lots of Online and Desktop Games require you to click at a single or multiple screen locations. Instead of straining your fingers to do fast clicking with physical Mouse with the help of Jitter or Butterfly clicking which is not good for hands. Yes lots of Gamers around the globe still do use Software Applications to do the Automated Clicking and enjoy the Game. This post talks about a Mouse Clicking Software Application titled Auto Clicker which is a power packed, simple and yet advanced Automated Mouse Clicking Application.

Auto Clicker
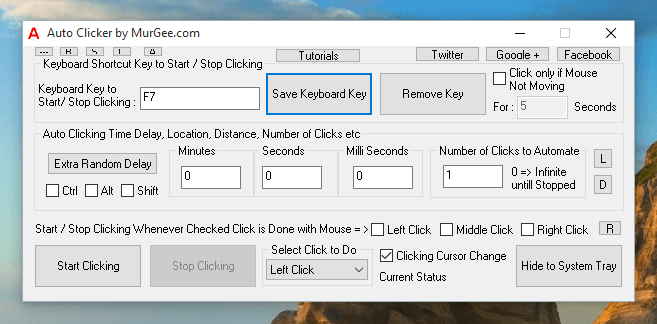
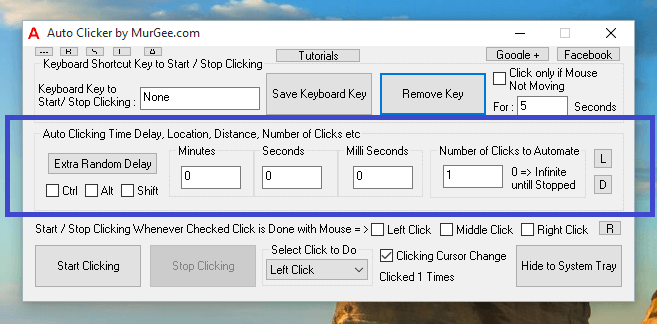
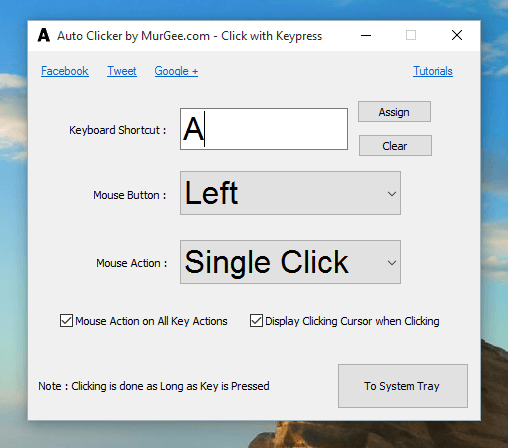
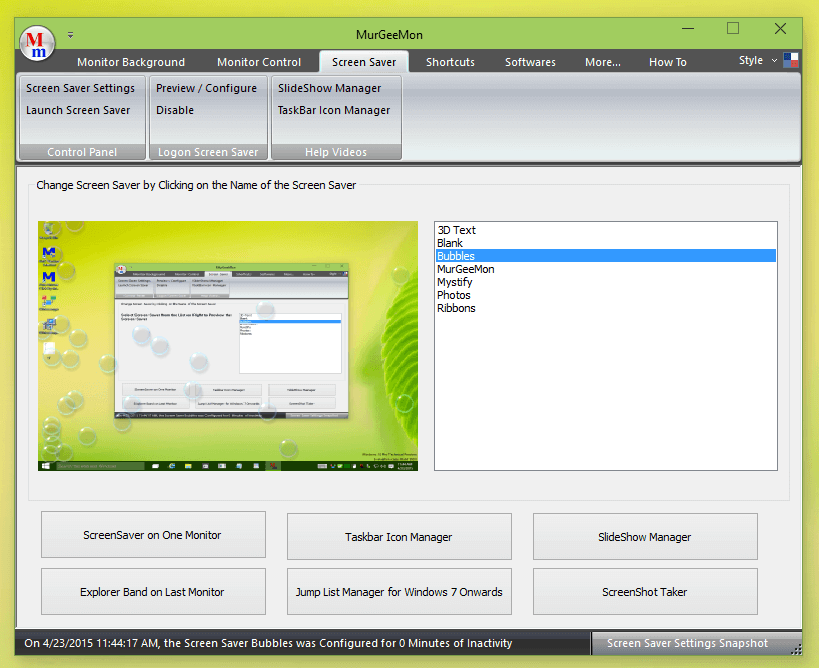
To Automate Mouse Clicking in Games, you can use the Software displayed above and play your favorite Game. The above Screenshot displays main screen of the the Mouse Clicking Application captured on a Windows 10 Computer. Note that there basically 3 ways in which you can Start / Stop Automated Mouse Clicking in a Game.
- Define a Keyboard Shortcut to Start / Stop Automated Mouse Clicking.
- Use Mouse Shortcut to to Start / Stop Automated Mouse Clicking.
- Click in the Start Clicking / Stop Clicking button to control Automated Mouse Clicking.
Control Speed of Automated Mouse Clicking
This Mouse Clicking Application can do Automated Mouse Clicking at configurable speed. The Mouse Clicking Speed is configurable by defining Time Delay between Automated Mouse Clicks. The Speed of Mouse Clicking can be either of the given below
- Variable Mouse Clicking Speed controllable with Random Time Delay.
- Fixed Mouse Clicking Speed Controllable with Time Delay between Automated Clicks.
The Fixed Time Delay between Automated Mouse Clicks is configurable from the Main Screen of Auto Clicker itself, however to add Random Time Delay between Automated Mouse Clicking, click on the Extra Random Delay button and define the limit of Random Duration to be added to the Fixed Time Delay.
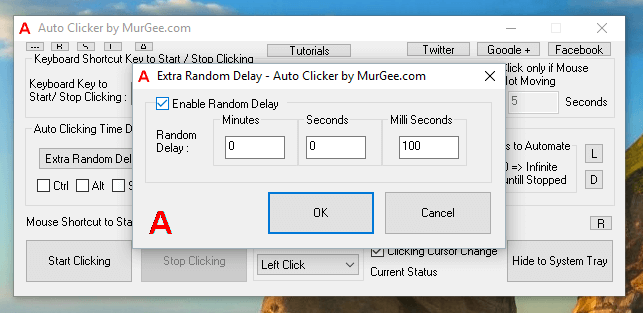
Extra Random Time Delay to Control Mouse Clicking Speed
The Extra Random Time Delay once enabled and configured would instruct this Mouse Clicking Application to do Mouse Clicking like a Human would do. Effectively the Game or Application on which this Application is clicking would receive Mouse Clicks at Random Intervals.
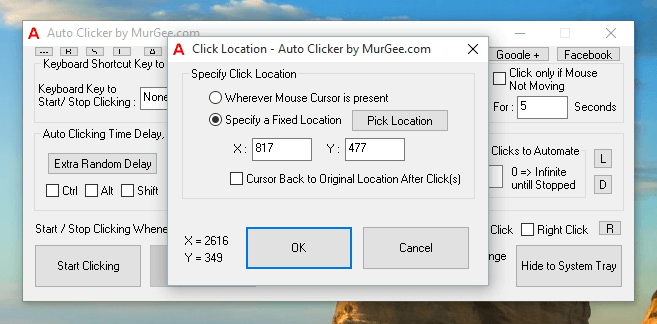
Automate Mouse Clicking at Fixed or Current Mouse Cursor Location
The Automated Mouse Clicking can be done at a Fixed Screen Location or at Current Mouse Cursor Position. By default the Automated Mouse Clicking is done wherever Mouse Cursor is present. In case you want the Mouse Clicking to be done at a pre-defined Screen Location, you need to change the Clicking Location as displayed in the screenshot below.
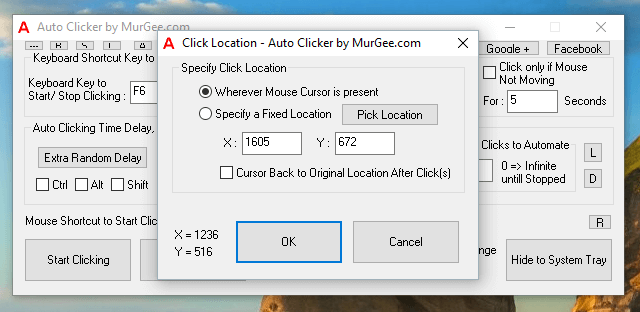
Automate Mouse Clicking at Fixed Screen Location or at Current Mouse Cursor Location
As displayed in the above Screenshot, when Automating Mouse Clicking at Fixed Screen Location, you can even instruct this Software to bring Mouse Cursor Back to it’s original Mouse Cursor Location Automatically as well. Note that you can use the Pick Location button to define the screen location on which you want the Automated Mouse Clicks to be done.
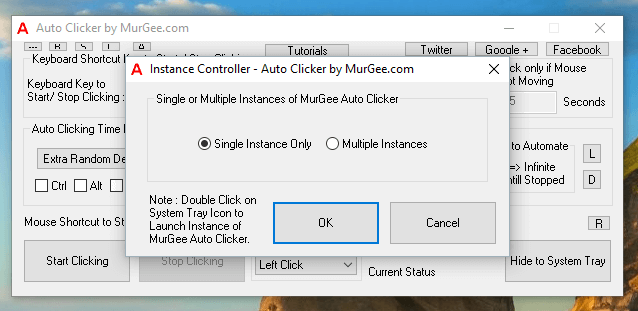
Single or Multiple Auto Clickers
One of the really useful feature of this Automated Mouse Clicking Application is that you can launch Multiple instances of the Auto Clicker. This can be useful when you want to have multiple keyboard / mouse shortcuts to Automate Mouse Clicking with different parameters. By default only Single Instance of this Application can be launched. In case the Application is already running in System Tray or it is minimized, double clicking on the Desktop Shortcut would show the hidden / minimized Application and would not launch another instance of the application.
Single or Multiple Auto Clickers
In case you have enabled Multiple Instances, you can launch Multiple Auto Clickers by clicking on the Shortcut in Programs Menu or by Double Clicking on the Desktop Shortcut. Each instance when launched creates it’s own System Tray / Notification Tray Icon so that you can control them. Moving Mouse on any of the System Tray / Notification Icon displays the parameters configured for that instance as displayed in the screenshot below.
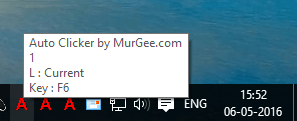
Multiple Auto Clickers in Notifications Tray
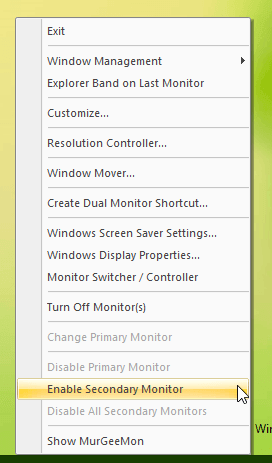
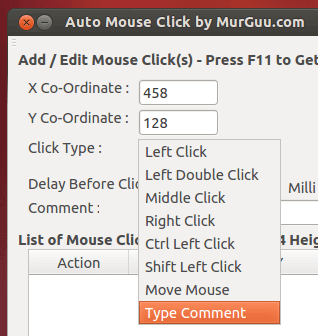
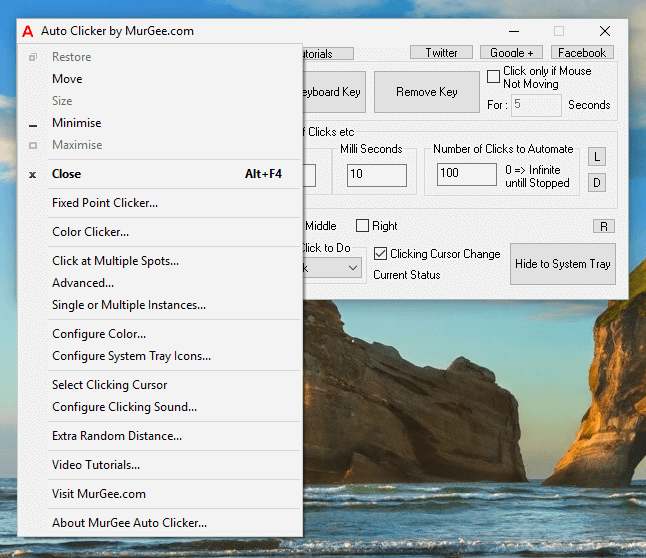
You can Right Click on any of the Icon in Notification Area to view available options and extra features. You can change setting of individual Auto Clicker Instance or you can simply double click on any of the icon to show that particular instance of Auto Clicker.
Right Click Menu of Notification Icon of Auto Clicker
There is another Right Click Menu available which allows you to launch and configure Advanced Options of this Auto Clicker. You can launch the other Right Click Menu by doing Right Click on the main screen of the Software. Yes there are tons of features which ensures that you can Automate Mouse Clicking in DirectX and other MMPORG Games.
Advanced Auto Clicker from Right Click Menu
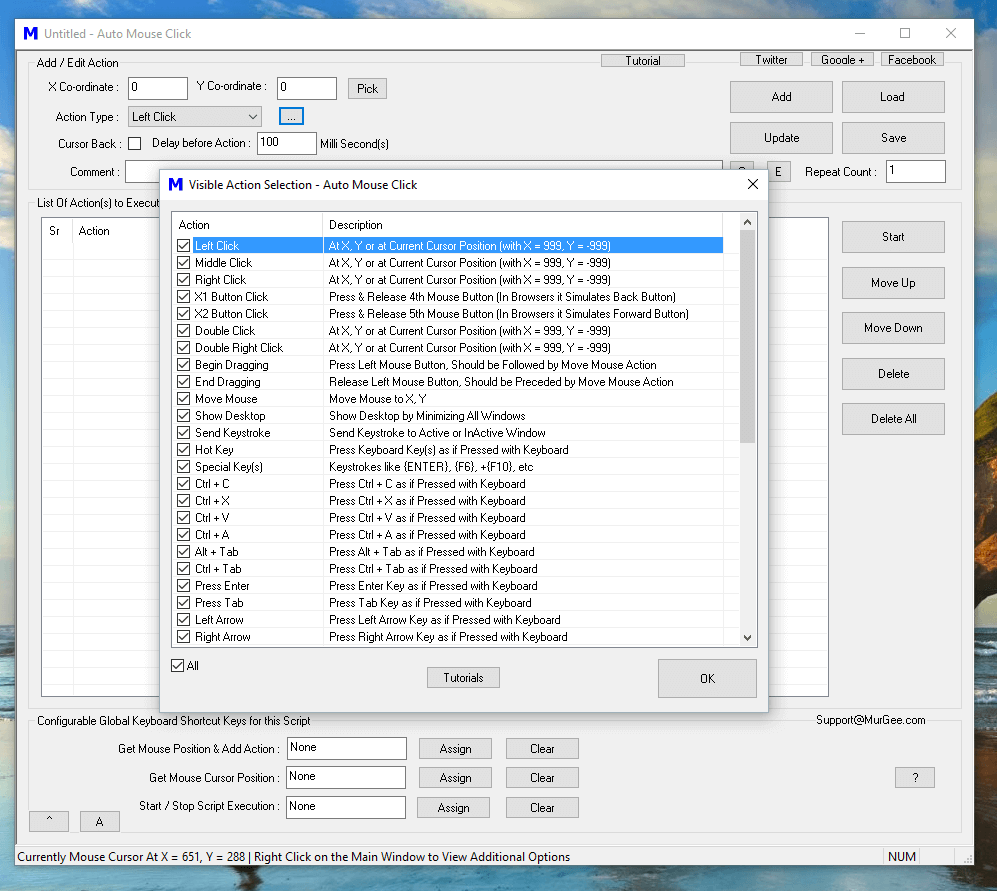
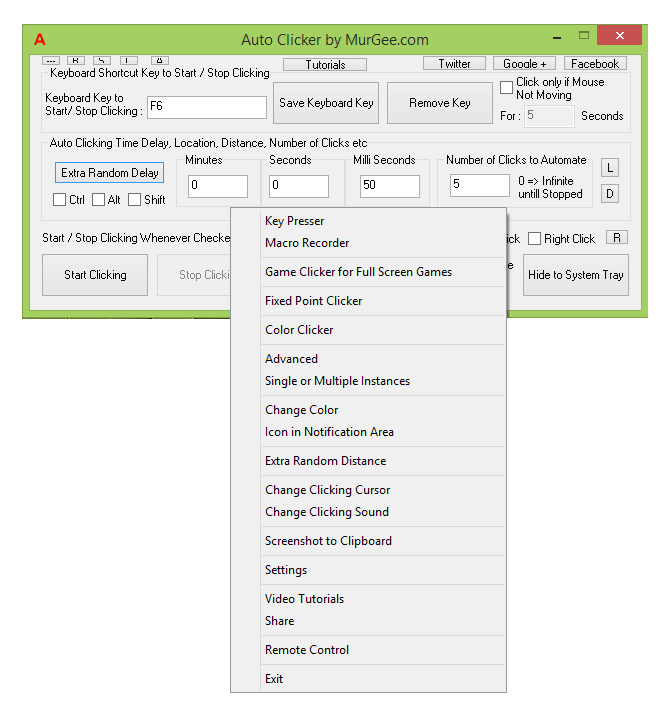
Once you have mastered basic features of this Mouse Clicking Utility, you can go ahead and explore other advanced features of the Software. In order to get started, right click on the main screen of the software to view a Menu offering Advanced Mouse Clicking features. All the Advanced Mouse Clicking features have been designed taking into consideration the needs of Gamers exploring Single or Multi Player Games.
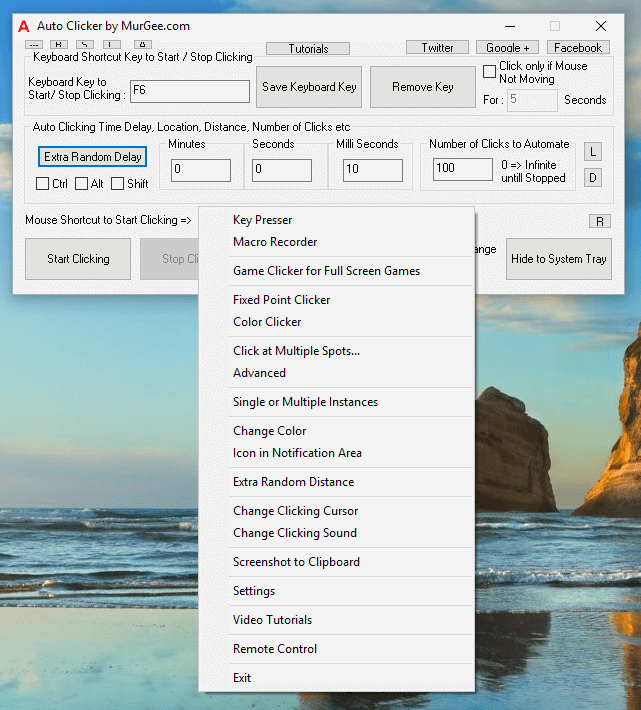
Right Click Menu offering Advanced Automated Mouse Clicking Features
As displayed in the screenshot above, the Right Click Menu offers lots of features which make sure that you can do much more than simple Automated Mouse Clicking at current mouse cursor location or at fixed screen location. Given below are few of the features of Auto Clicker which makes it a simple and yet Advanced Mouse Clicking Application. Feel free to explore various features or just press F1 to view Video Tutorials and help regarding Advanced capabilities of the software.
- In-built Key Presser to press a Keyboard Key with configurable speed.
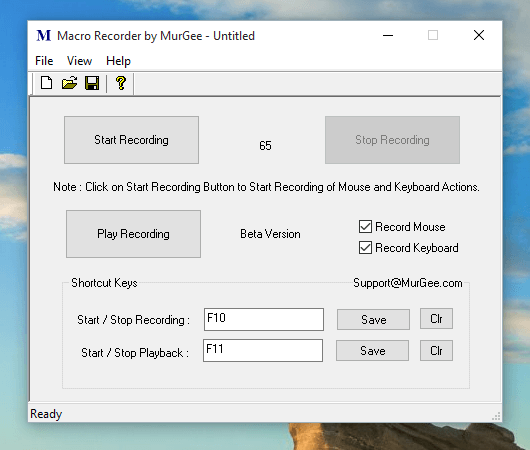
- Macro Recorder to record Mouse and Keyboard and then playback the Macro Recording with a Keyboard Shortcut.
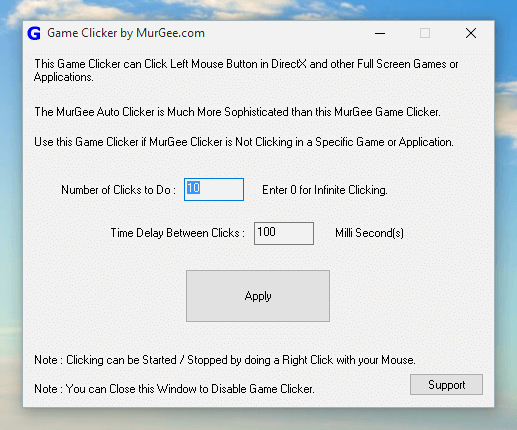
- Game Clicker for Full Screen Games allow you to Automate Fast Mouse Clicking in DirectX based Full Screen Games including MMPORG Games.
- Fixed Point Clicker to Click at Fixed Screen Location controllable with Keyboard Shortcut.
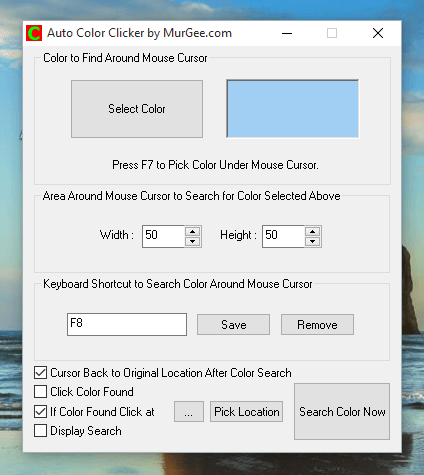
- Color Clicker to click on Screen Location identified by Pixel Color.
- The Click at Multiple Spots menu launches an Application which allows you to Click Multiple Screen Location controllable with single Keyboard Shortcut.
- The Advanced Menu launches an Application allowing you to Click Multiple Times at any defined Screen Location and is controllable with a Keyboard Shortcut.
- Change Color Menu allows you to change the Color of the Software.
- Icon in Notification Area can be changed to any .ico file allowing you to distinguish between multiple instances of Applications running.
- Extra Random Distance menu allows you to click at random Screen Location.
- When the Software is doing Automated Clicking, the Mouse cursor changes it’s shape so that you are aware that Automated Clicking is enabled and Automated Mouse Clicks are being performed.
- Copy Screenshot to Clipboard allows you to capture a Screenshot of the software which you can paste in any Rich Text Application like EMail, Word, etc.
- The Video Tutorials Menu opens up a web page providing Help and Video Tutorials with which you can learn how to use various features of the software.
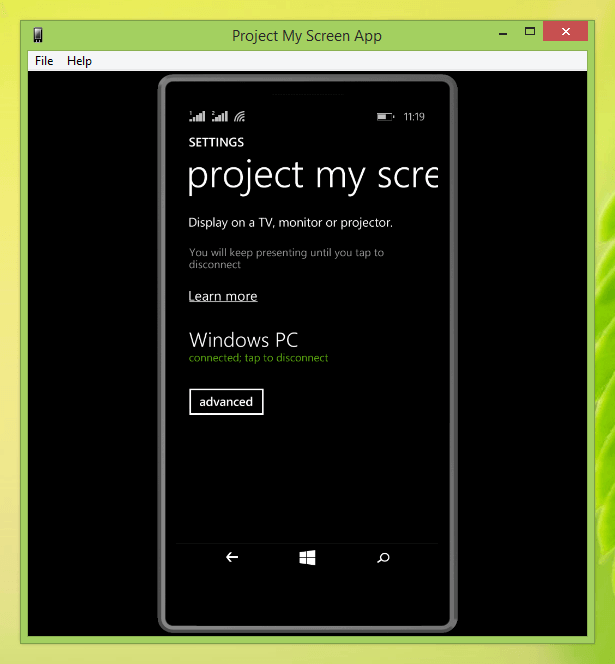
- Remote Control Menu allows you to control Automated Mouse Clicking with a Windows Mobile Phone. Support for Android devices is being developed and will be added soon.
Download Auto Clicker to Click in Games
In order to enjoy all the features of this Software, Download this Mouse Clicking Application and enjoy all the features of the Software in Online or Desktop Games. This Application works on all recent Windows Operating Systems like Windows 7, Windows 8, Windows 8.1 and even on Windows 10. Yes, this Mouse Click Automation Application has been tested with lots of Antiviruses and totally Virus Free.
Download Auto Clicker
The Free Trial version of this Software is fully functional and there is no functionality limitation in the software. Apart from Automated Mouse Clicking in Games, you can use this Auto Clicker Software to Automate Mouse Clicking wherever you need to spend time and efforts in Clicking repetitively.